I love my Synology NAS. I was surprised at the number of features Synology claims to support, but I was even more surprised to find out that they all seem to work (at least all the ones I have tried so far).
One of my favourite features is the ability to run Docker containers directly on the NAS. They even provide a nice little UI to manage images and containers.
The only problem is that I keep forgetting how to update my containers. I usually just set up my containers and forget about them; maybe running the Docker app on my NAS a few times per year.
Because I forget things… below are the steps I go through when I want to update the underlying Docker image for a container.
- Open the Synology Docker app.
- Click on the Registry link in the left nav.
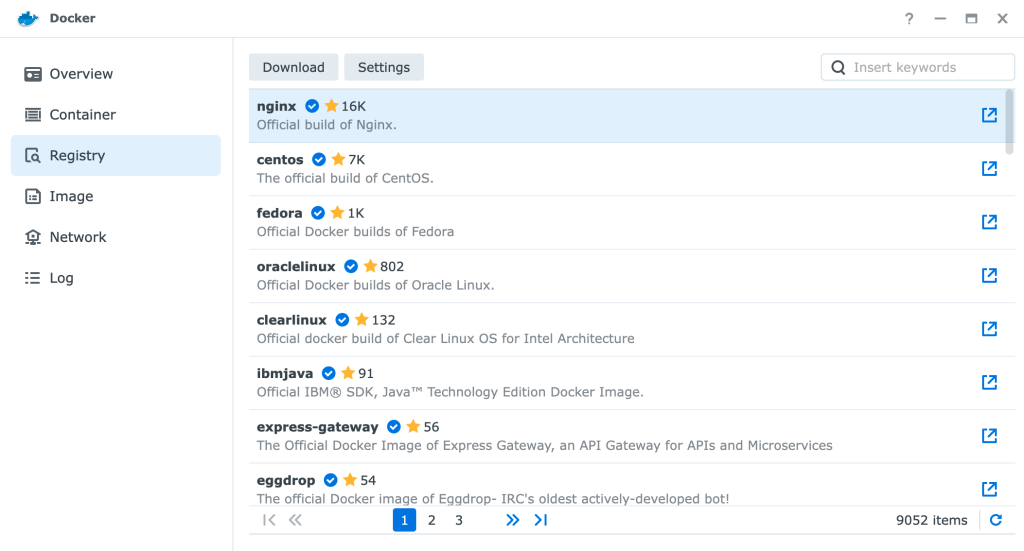
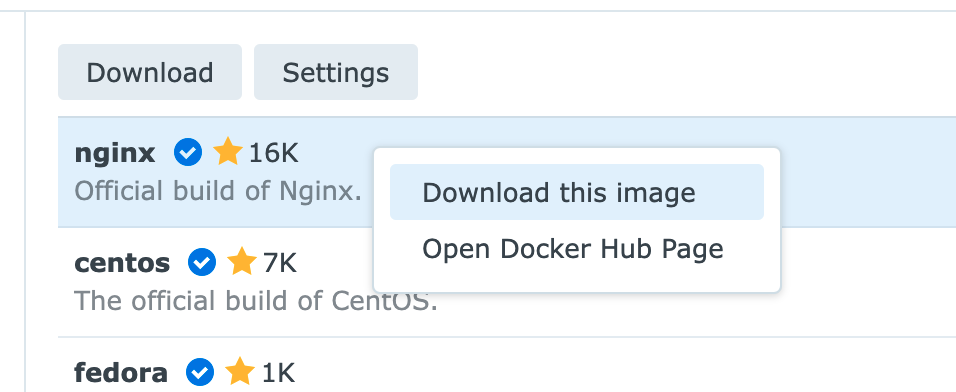
- Find the image that the container you want to update is using, right-click on the image and click “Download Image”.
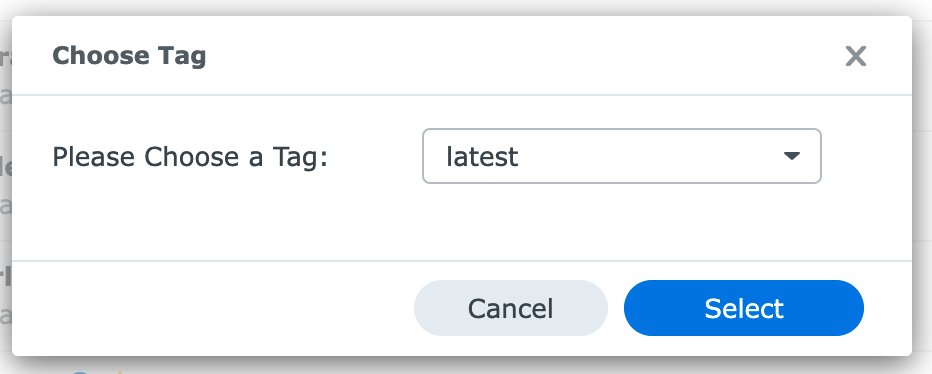
- Choose the version of the image you want to download. You probably want the “latest” version but your requirements may be different from mine
- A “1” badge will appear in the Docker app left nav beside the “Images” nav item indicating that your new image is downloading.
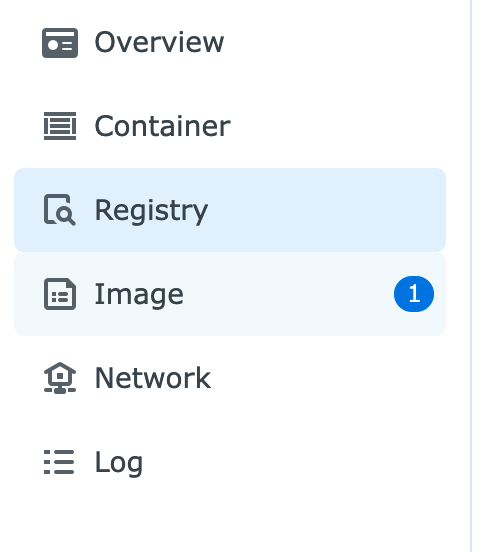
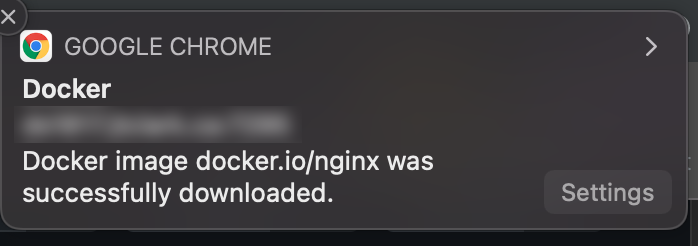
- When the download is complete the “1” badge will disappear and, if enabled, your browser will display a notification.
- Navigate to the Containers page.
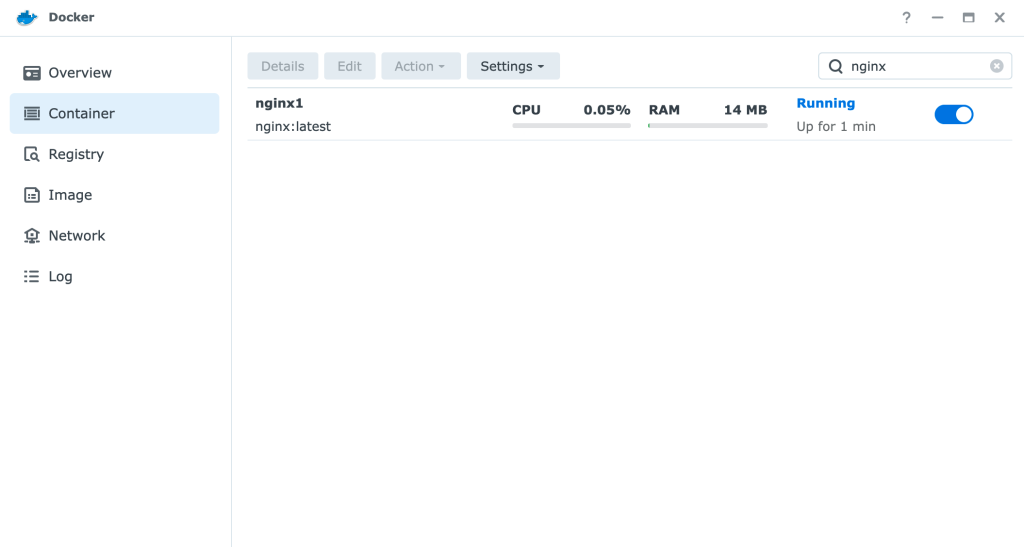
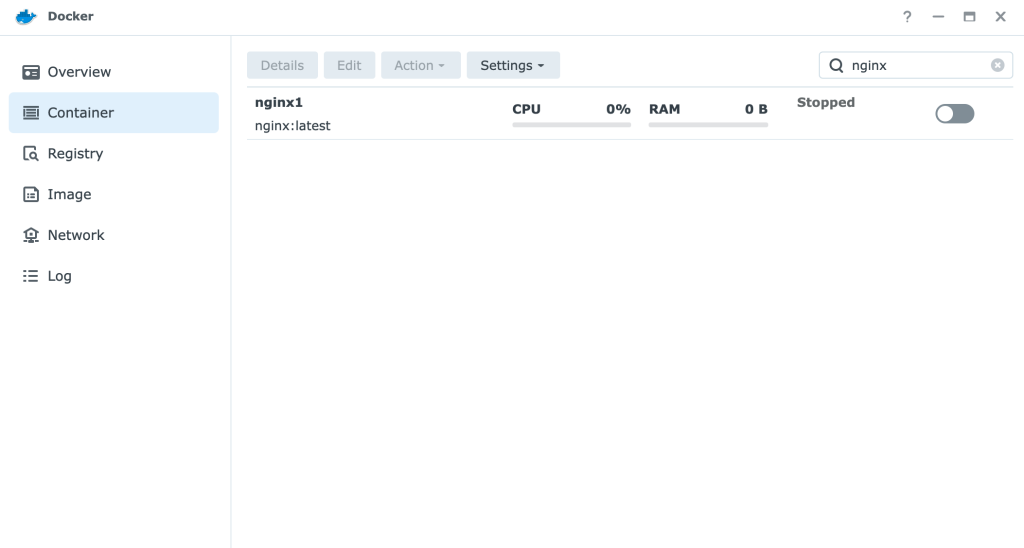
- Stop the container you want to update.
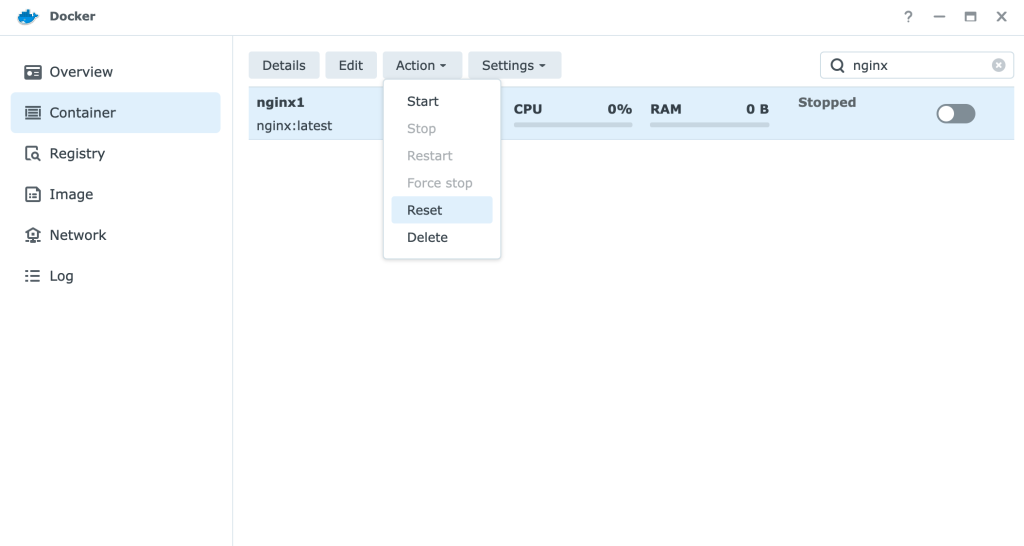
- Right click or select the container and use the “Actions” menu to “Reset” the container.
- You will receive a warning message which should be safe to ignore as long as you are using volumes and not storing important information in the container directly.

- Start up the container and you should now be on the latest version!
